
Got home, had dinner, got bike out of the car, got bike out of the box, assembled it in one fell swoop, which isn't bad considering that it isn't something Ive done before. Okay it was pretty simple. Not come across them but the wheels are quick release things with a long spindle through the hub. Very handy - for thieves!
First a question for you bike aficionado's:
I cant seem to adjust the brakes so they grip properly. This is the rear brake when its not squeezed in.
This is the rear brake when it is squeezed in
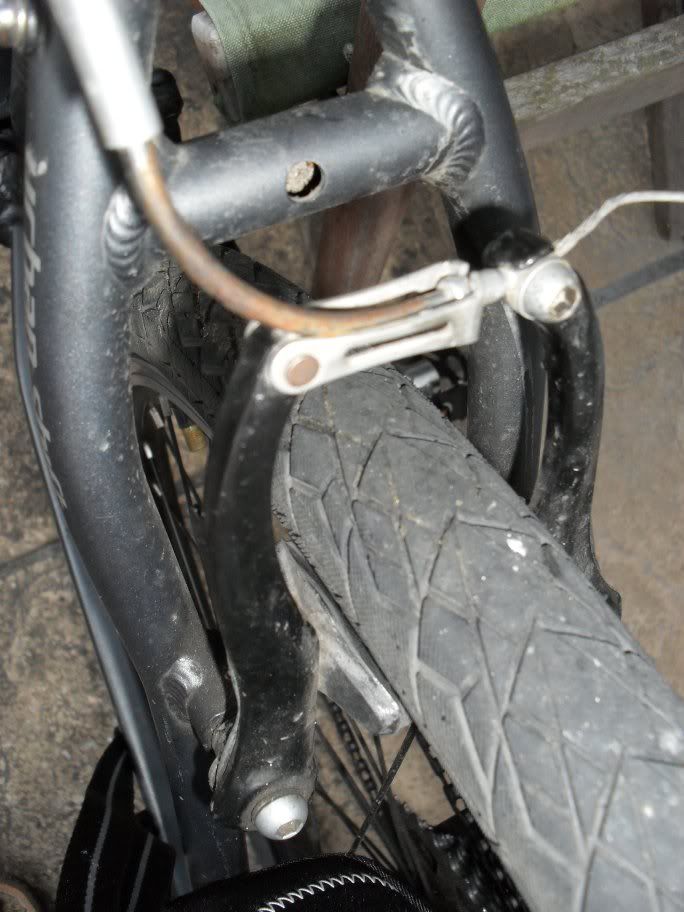
As you can see the nipple hits the nut which grips the cable.
Ive tried adjusting the cable adjuster at the point the cable enters the brake lever on the handlebars.
Ive tried bending the spring behind the brake blocks.
Ive tried undoing the nut and moving the cable you can see above.
The front brake grips the best, but when moving its almost useless, whereas the rear brake may as well be made of lard. I fiddled with them for a good hour before giving up. Can anyone offer any suggestions I haven't tried? Is there a trade secret method to this stuff?
Okay onto the rest of the bike. Well actually its not in as bad a condition as I first thought, and is certainly the most modern Ive owned...ever. Its also quite light; not as light as a racing bike but a good half the weight of my MTB, and as you can see the tyres will do just fine for bumpy tracks, fields, towpaths etc as well as having a Kevlar inner to prevent punctures.
More pictures (click them to enlarge):
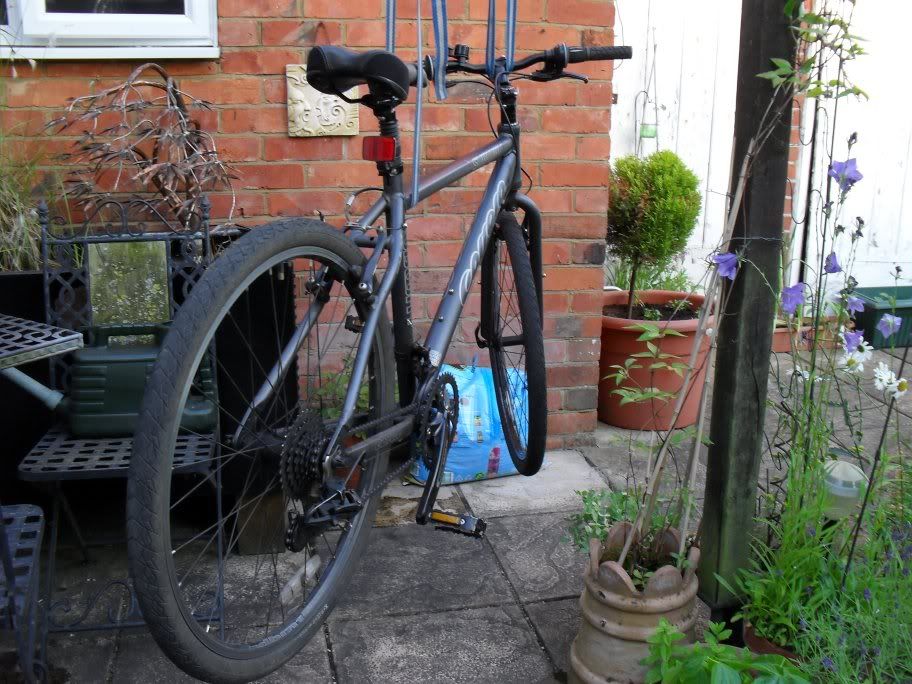
This is how I assembled it all together and tested the brakes & gears (all 21 of the little beauties!)

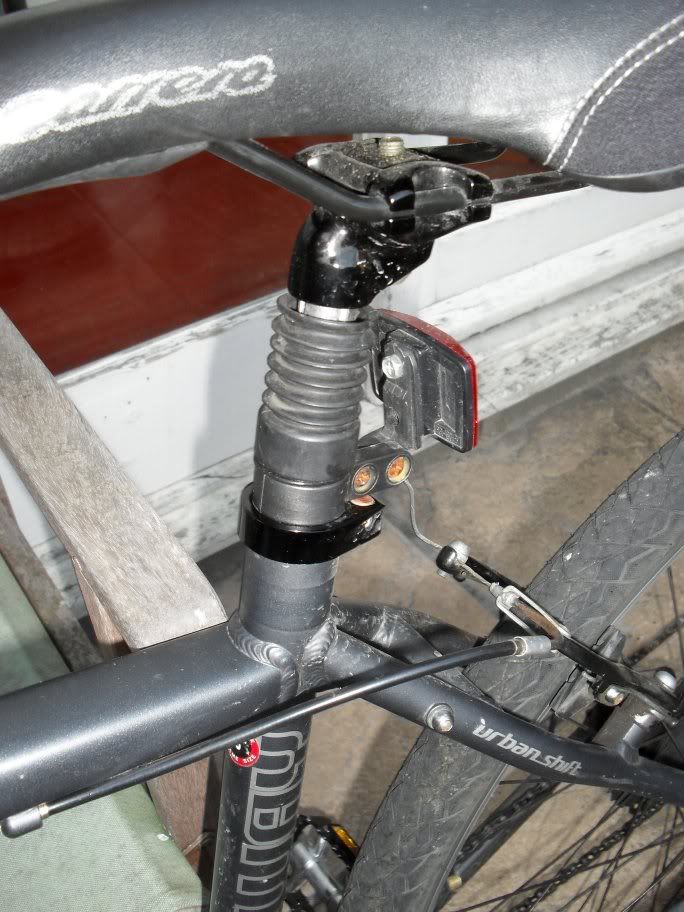
It also has a spring loaded saddle post. I tried it out and damned if it works really well, plus its a very comfortable saddle.
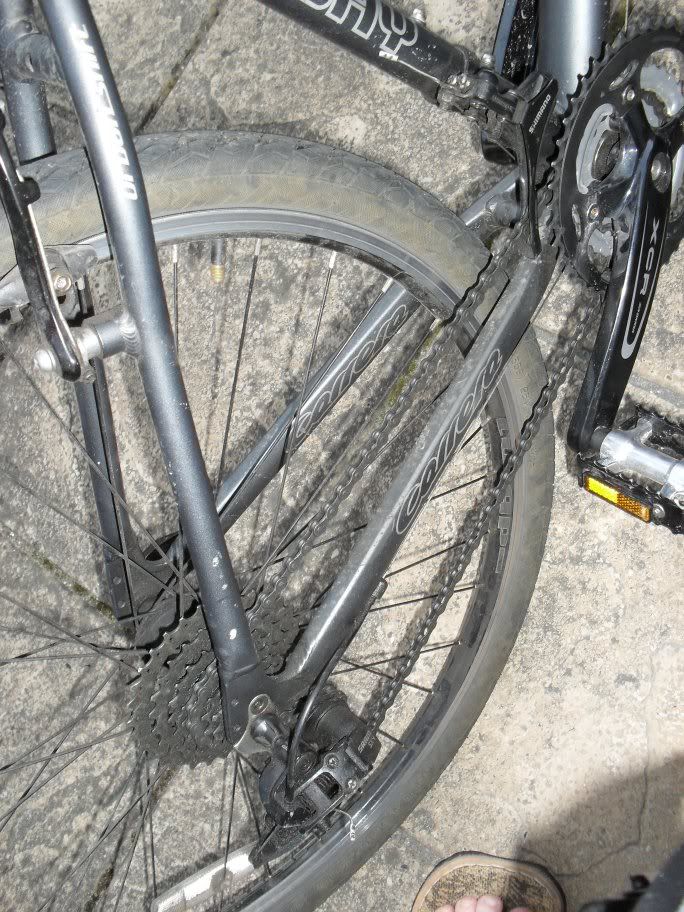
The back end. As you can see he didn't bother to clean any of the bike before selling it. Personally I would have but maybe that's just me. That's a job for the weekend.
The front end, and you can see some of the scuffs and scratches. The paints even been partly removed from the bell. The bell FFS! I mean how the heck do you ride a bike so badly that the paint comes off the bell? I like the bell though - haven't had one since I was a kiddie :)

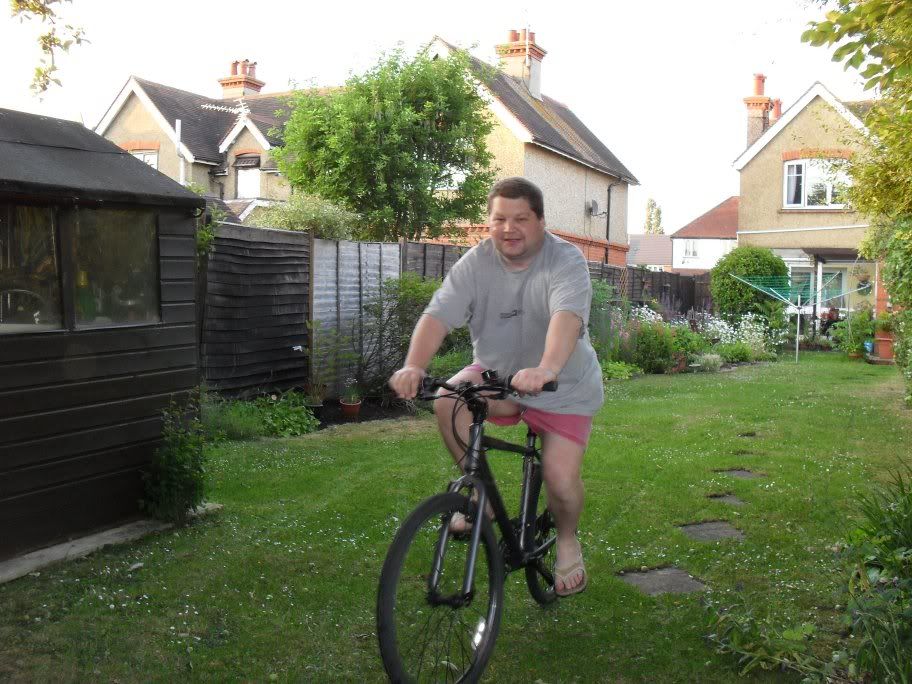
And finally yours truly, in my special protective cycling shoes, risking life and limb cycling around the garden.
Anyway any help with the brake thing would be really appreciated.
Also Ive just realised the front mudguard nor the foot cups for the pedals were in the box but described by the seller as part of the price. Ive emailed him to request he forwards them. Like yeah that'll happen!
ReplyDeleteMy first thought is how worn are the blocks?
ReplyDeleteThe second thought is are the spacers fitted correctly? If you look at the block the shaft and the nut you will see that there are a number of spacers on either side of the plate, I would suggest that you need the large spacer on the rim side and the small spacer on the nut side :-)
I dont think playing with the cable or adjuster will help you until you get the blocks meeting the rim without the brake arms touching :-)
If the described spacers are not apparent then pop into halfrauds, those blocks are a standard hybrid fit
I thought worn blocks and a spacer issue too, JB is a bit quicker to the keyboard! :-)
ReplyDeleteI'm not very good at describing technical stuff, but I believe the curved metal sleeve for the brake cable should be further to the left as you look at your picture of the rear brake set-up, then a rubber sleeve compresses between the two brake arms. When I've had to adjust mine, I always have trouble getting the metal sleeve into its retaining slot on the left hand side. Hope this is helpful.
ReplyDeleteHmmm, that brake problem seems odd, if somebody answers would you let us know? Thanks.
ReplyDelete